Installing ScryCLI
Get ScryCLI up and running on your system in just a few minutes.Prerequisites
Before installing ScryCLI, ensure you have the following installed:- Node.js version 16 or higher
- npm, yarn, or pnpm package manager
- A terminal application (Terminal, iTerm2, Windows Terminal, etc.)
ScryCLI works on macOS, Linux, and Windows. Make sure your Node.js installation is up to date for the best experience.
Install ScryCLI
You can install ScryCLI globally or as a local dependency in your project.Global installation (recommended)
Installing globally allows you to use thescrycli command from anywhere on your system:
Local installation
If you prefer to install ScryCLI in a specific project:With a local installation, you’ll need to run ScryCLI using
npx scrycli or add it to your package.json scripts.Verify installation
After installation, verify that ScryCLI is installed correctly: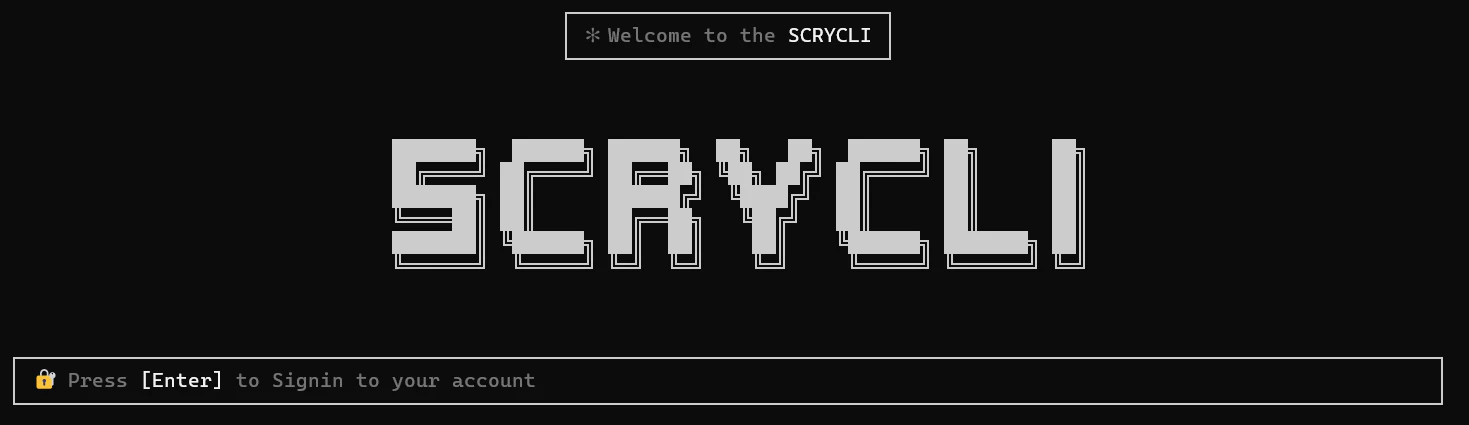
First-time setup
When you run ScryCLI for the first time, you’ll be guided through a setup process:Authentication
Press
Enter when prompted to sign in. This will open your browser to https://www.scrycli.tech/token.Select AI provider
Choose your preferred AI provider from the list:
- OpenAI
- StepFun
- Qwen
- ArceeAI
- Mistral
- Zai
Configuration file
ScryCLI stores its configuration in your home directory:- Your authentication token and user ID
- Selected AI model provider and model name
- Other preferences
You can manually edit this file to change settings, or use the built-in
/model and /logout commands.Updating ScryCLI
To update to the latest version of ScryCLI:Troubleshooting
Command not found
If you get a “command not found” error after global installation:-
Check that your npm global bin directory is in your PATH:
-
Add the bin directory to your PATH in your shell configuration file (.bashrc, .zshrc, etc.):
Permission errors
If you encounter permission errors during installation on macOS or Linux:Token verification failed
If you receive an “Invalid token” error:- Ensure you copied the complete token from the website
- Check that there are no extra spaces or line breaks
- Try generating a new token from https://www.scrycli.tech/token